Our Hubspot integration uses the ‘Calls to Contacts’ integration via the Hubspot API.
How it works
On the first run of the integration, we will import all contact data from your Hubspot account and store it against the property in the back-end of your VCT data platform. Every 15 minutes we will create/update any newly created contact records.
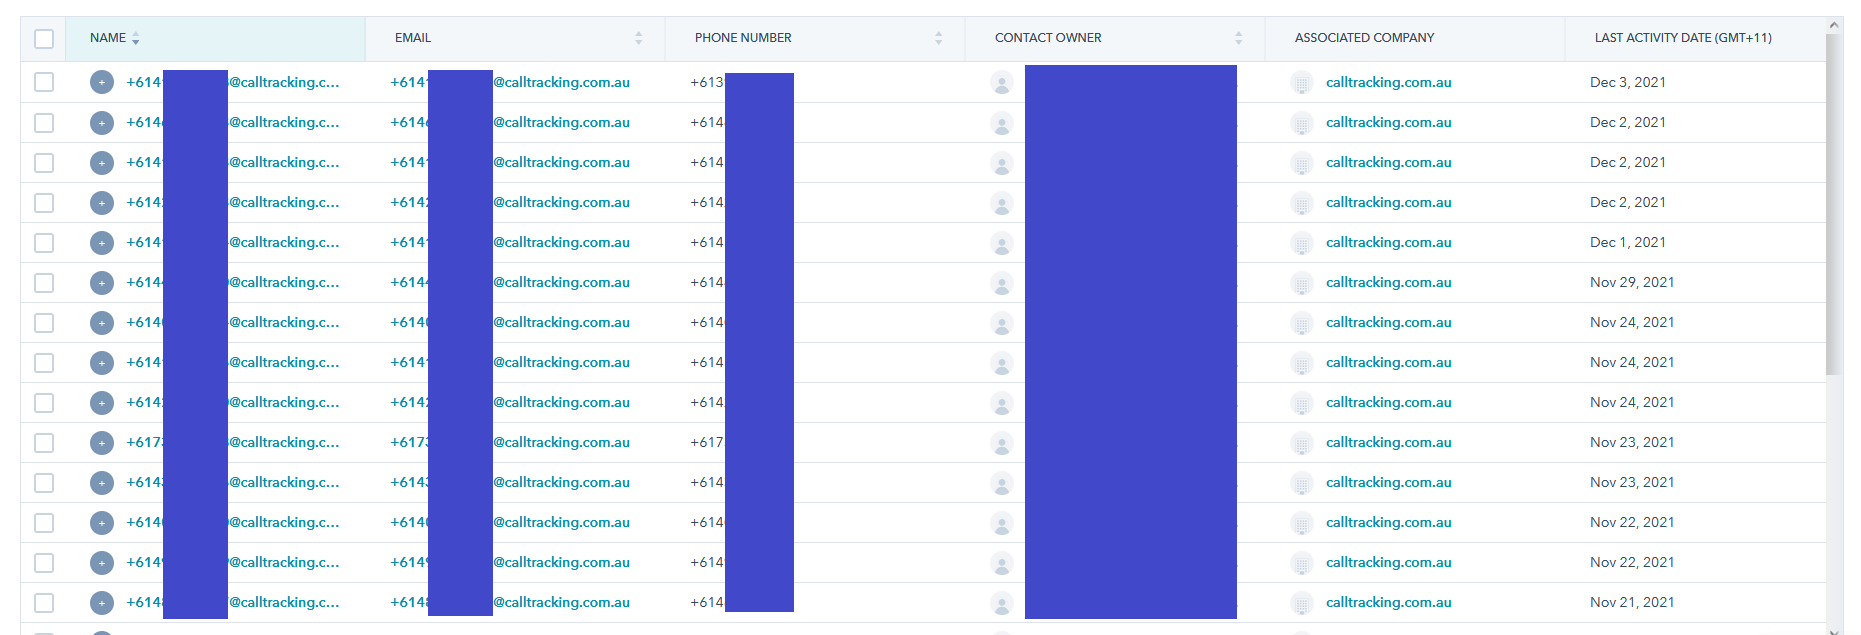
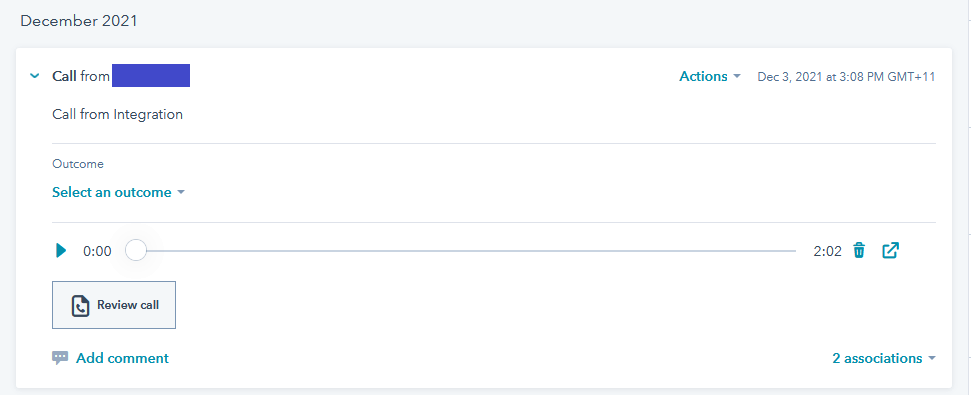
When you receive a call, the call is logged as per normal, however every 15 minutes it will look for a match against your Hubspot records and sync the call against it. If a contact is found it logs call data to it, if no contact is found it will create a new contact:
NUMBER@calltracking.com.au
When the new contact is created it will log a call against it. See example screenshots here …
Setup & Settings
As this is a new integration to the VCT platform, all Hubspot integrations will need to be manually set-up by us. The process we will go through to setup the integration is:
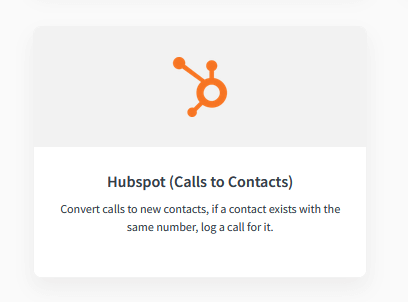
Click the Hubspot (Calls to Contacts) integration from the VCT integration list:
A prompt will then appear to connect your Hubspot account. The person who authenticates this must be a HubSpot Super Admin as this will open a new link window which will install a marketplace app that will handle the API authentication. (In the case of us manually setting up this integration, you will recieve an email from us with an activation link to connect your Hubspot account to the VCT platform via blendr.io)
Once authenticated, we enter the Virtual Call Tracking PropertySID of your platform and then we choose a couple of defaults, one of which being the default Hubspot OwnerID.
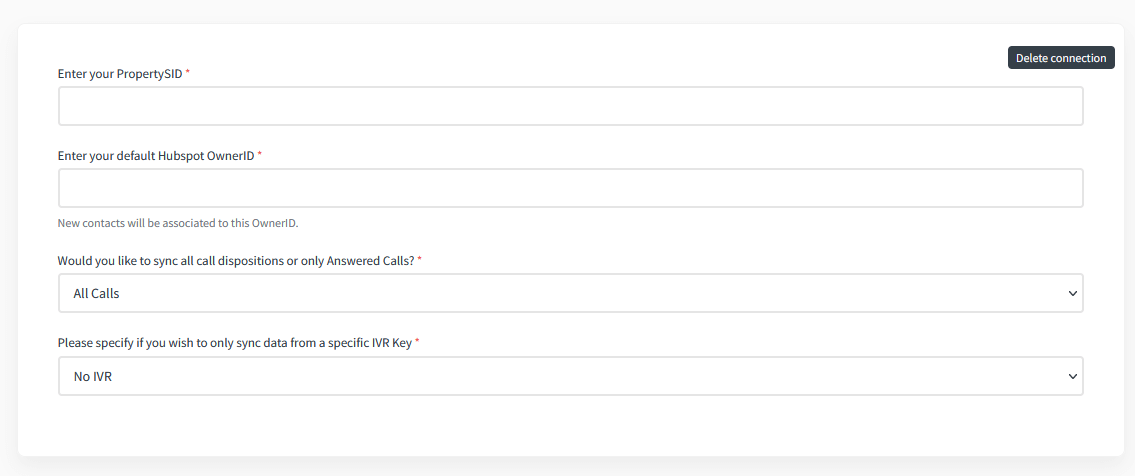
If you choose to sync data from a specific Virtual Call Tracking IVR Key only, this will only work for a single level IVR hosted by us. If you have a multi-layered IVR you will need the Hubspot integration customised by us.
The first runs may take a while as they will be downloading all Hubspot contact data, subsequent runs will be much quicker. And if you would like to sync past Virtual Call Tracking call data, please let us know.
Leave a Reply